
A friend of mine wanted one of the bracelet I gave her sized. She is a little petite thing so she needed it down sized. So I did a step by step to show how a bracelet is made. This is the same thing I do on my necklace too.
Crimp beads are most often used when stringing a beaded piece (like a bracelet or necklace). Here are the tube shaped crimp beads and the crimping pliers.
 On the pliers you can see two different grooves inside of it. The first is oval shaped, and the second is an oval with a dip on one side.
  I take a crimp bead and add it to my wire with a clasp.
 You loop the wire back into the crimp bead.
Sometimes I add a bead in between the crimp bead and clasp.
 You take your crimp pliers place the bead in the second oval of the pliers (the one with the little dip), and close the pliers around the bead. You'll see it curl.
 It will look like this after.
Now take the crimp bead and position it in the first oval, 
and close the pliers around the crimp bead again so that you're compressing the curled bead into a rounded shape.
 Now you can trim off the excess beading wire as close as you can to the crimp bead.

You then string your bead in the order that you want.
 At the end you do the same thing with another crimp bead and ring.
 You can see I try to get the beads tight up to the crimp bead.
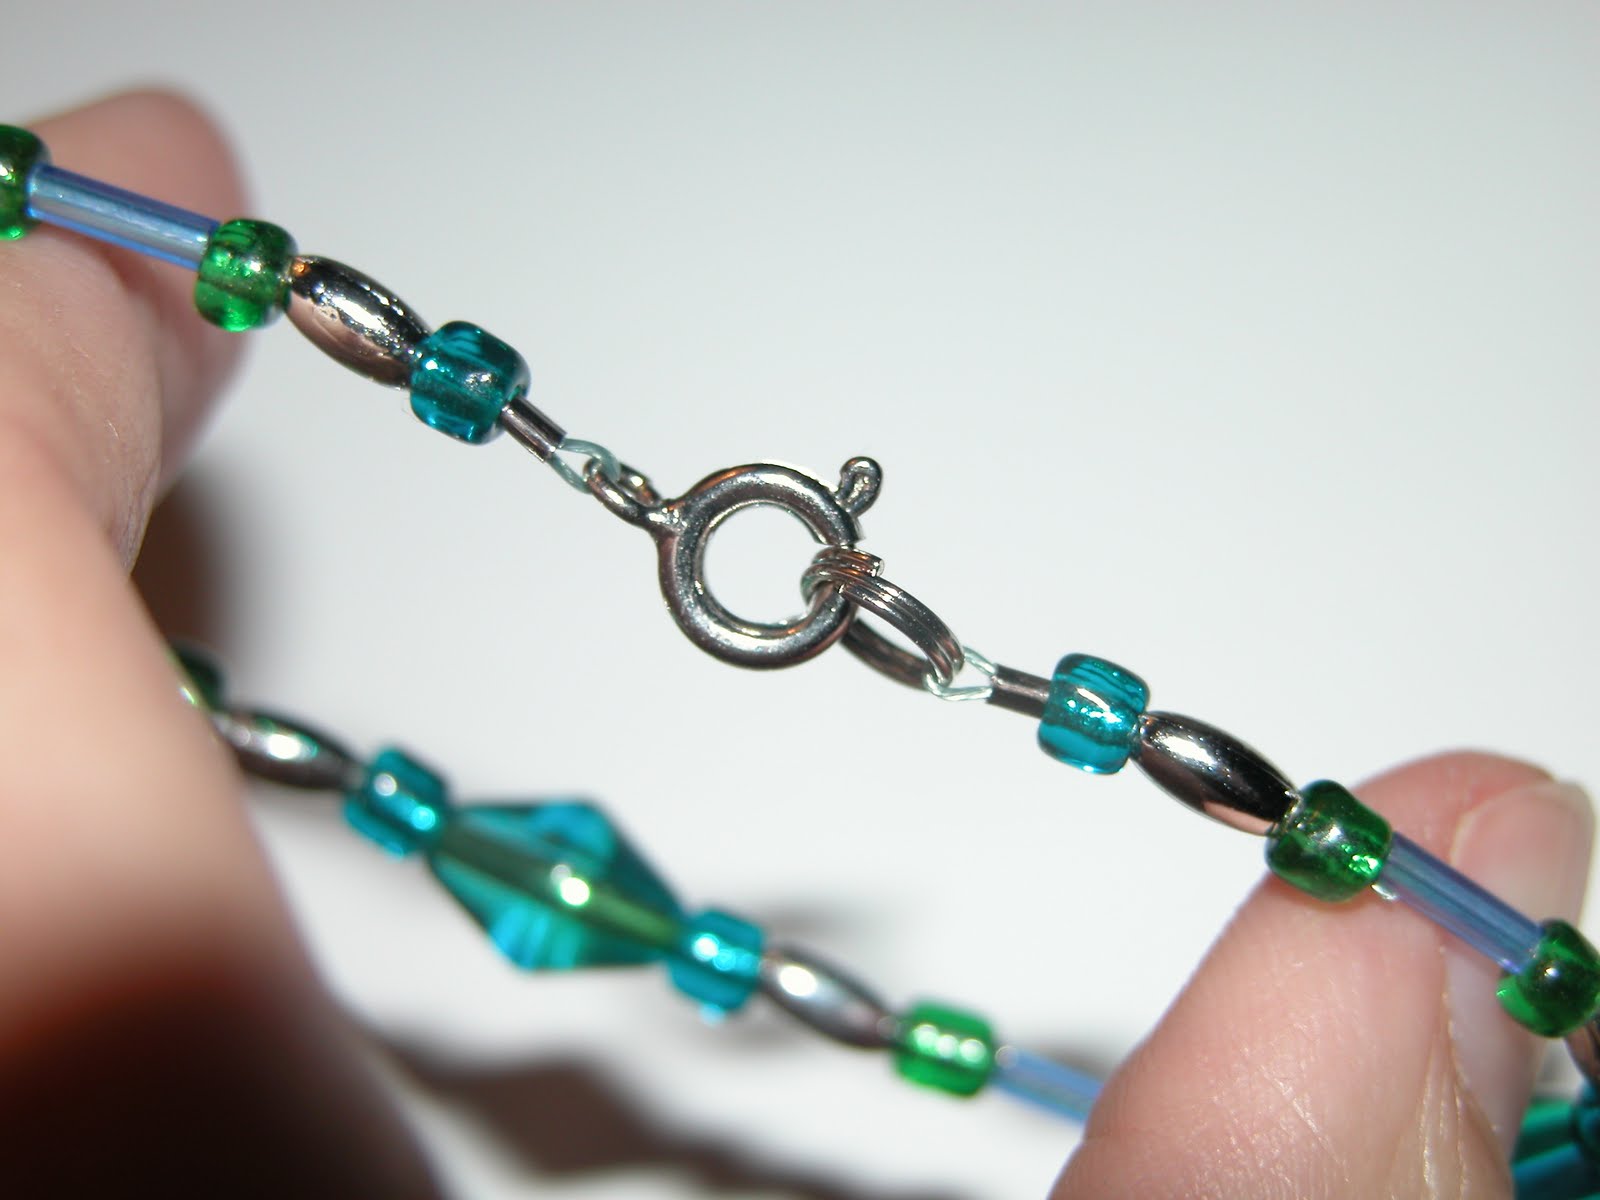 All done and ready to rock!
 So there you have it. I hope this gives you a little more in site on how it's done!!
No comments:
Post a Comment